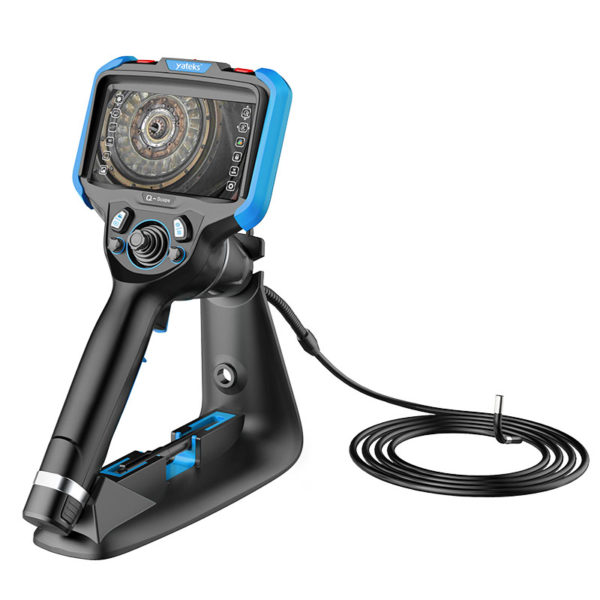
Special equipment is a type of equipment that is more dangerous and even involves life safety. The quality of the weld seam, especially the inspection of welded joints, is very important. However, in the manufacturing process of special equipment, due to the limitation of space and human sight, it is difficult for inspectors to carry out perfect inspection of the welded joints of special equipment. The application of Yateks industrial borescope in the manufacture and inspection of welding joints of special equipment is an efficient solution that is different from traditional inspection methods.
Take pressure-bearing equipment in special equipment as an example. Welded joint inspection is an important part of pressure equipment manufacturing quality inspection. In particular, the D-type welded joints connected to the shell, such as nozzles, flanges, and reinforcing rings. It not only has the characteristics of stress concentration, which easily affects the welding quality, but also due to the complex structure, ultrasonic flaw detection, radiographic inspection, etc. are difficult to play a role, so the traditional process often does not set inspection points in the manufacturing process of welded joints, and wait until the end of manufacturing. At the stopping point, the withstand voltage test is carried out, and at this time, whether or not a problem is found, the ideal inspection time has been missed. Therefore, it is a traditional problem that the weld quality of many pressure vessels is difficult to be effectively detected.
Difficulties in manufacturing and inspection of welded joints for special equipment
The use of Yateks industrial borescope can detect the quality of welded joints in the manufacturing process of special equipment, find manufacturing defects early, and provide the possibility for correction or compensation. Using a probe with a diameter of millimeters, through the hand holes in the upper and lower drums or headers, close to the welding seam, through high-quality imaging and high-power rear lighting, reconstruct high-definition, color-realistic welding seam images, Visualize areas of welds that are traditionally invisible. The quality of the opening of the pipe hole, the welding quality of the fillet joint and the extension length of the pipe end, etc. can be displayed on the display screen.
What can be checked using Yateks industrial borescope? Here are some examples:
- Observe the internal manufacturing conditions of the boiler feed water pipe holes, the opening conditions, the processing conditions of the pipe ends and the welding quality of the pipe holes.
- Intuitively understand the length of the pipe end of the sewage pipe protruding from the inner wall of the boiler shell to ensure the normal sewage function and avoid the formation of long-term fouling.
- Perform an internal inspection on the manufacturing and processing quality of the pipe joints inside the boiler header.
- Check the welding quality of the longitudinal annular seam of the vertical water-tube boiler, and timely find the situation that foreign objects such as welding slag block the sewage pipe.
All in all, Yateks industrial borescope is a non-destructive testing tool that expands the scope of the human eye. It can remove the detection “blind spot” that cannot be reached by human sight. In the manufacturing process of special equipment, the application prospect of welding seam inspection is broad. It can be combined with other non-destructive testing methods to better ensure the quality and safety of special equipment.


