1. What are the various key components that industrial endoscopes are used for visual inspection by space launch vehicle manufacturers?
Industrial borescope can be used to visually inspect various key components in the manufacture of space launch vehicles, including but not limited to the following aspects:
(1)Engine components
Borescopes can be used to inspect the combustion chambers, nozzles, turbines and other components of rocket engines to ensure their surface smoothness and no damage.
(2)Fuel system
Borescope can be used to inspect components such as fuel tanks, pipes and valves to ensure their sealing and no leakage.
(3)Electronic equipment
Borescope can be used to inspect the electronic equipment and connecting lines of spacecraft to ensure that their connections are firm and undamaged.
(4)Structural components
Borescop can be used to inspect the structural components of spacecraft, such as shells, support structures, etc., to ensure their surfaces are flat and free of cracks.
(5)Thermal protection system
Borescope can be used to inspect the thermal protection system of spacecraft, such as thermal insulation tiles, thermal protective coatings, etc., to ensure their integrity and effectiveness.
By using industrial borescopes for visual inspection, manufacturers can promptly discover and resolve problems with key components of space launch vehicles to ensure their safe and reliable operation.
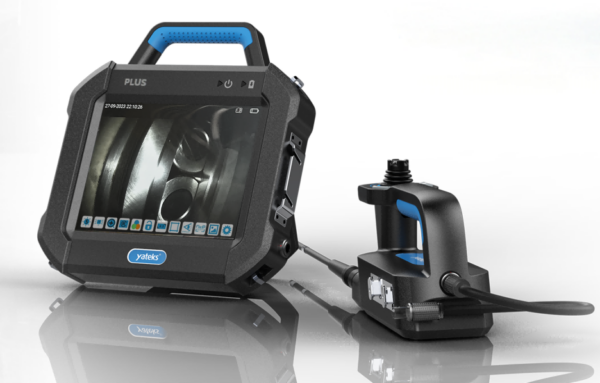
2.The following is the application sharing of Yateks P+ series industrial borescope in the field of aerospace manufacturers.
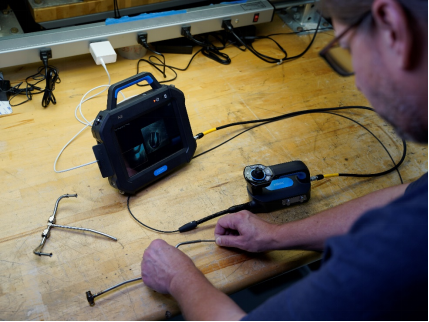
Yateks borescopes are used by an American manufacturer of space launch vehicles to visually inspect of a wide range of critical parts and components.
Customer needs
A common inspection requires the visual examination of FOD (foreign object debris) and orbital welds inside long stainless-steel tubing ranging from ¼” to 3” ID.
To inspect for FOD, a probe with a 0-degree direction of view (front view) is needed. The inspection of orbital welds requires a probe with a 90-degree direction of view (side view).
Thus, to inspect the tubing for both FOD and welds, the customer had to use one probe with two separate tips (one with front view and the other with side view). This resulted in a very inefficient inspection process where the technician had to continuously retract the scope entirely from the tubing to switch between the front view and side view tips. Welds were also difficult to locate and easy to miss in long tubing, particularly when using the side view tip.
Industrial borescope products we recommend to customers
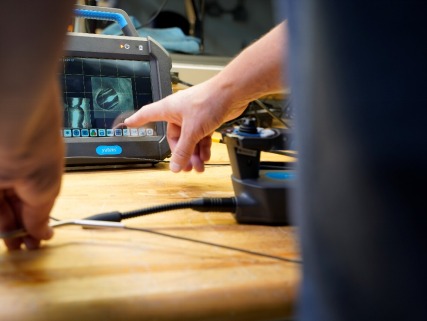
Our partner InterTest recommended the Yateks P+ Dual camera 2.8 mm Video Borescope to optimize the customer’s inspection process. The dual view scope has both the front and side views integrated on the distal tip so that both views are displayed simultaneously on screen. This allowed the customer to check for FOD and locate the welds using the front view, then verify the orbital weld using the side view – all in one probe without the need to switch between tips.
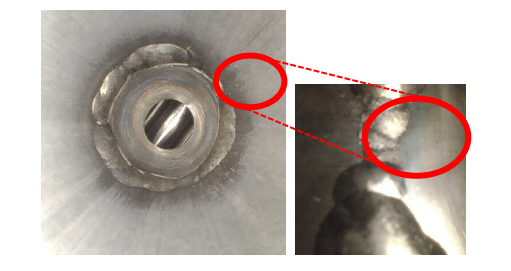
Image: the 2.8 mm Dual camera industrial Borescope inside of a ¼” inner diameter fuel manifold tubing. Left image shows the forward direction of view (DOV) targeting the orbital weld of interest. Right image shows the side DOV that targeting the weld seam. This shows an inconsistent weld bead that could be problematic.
This resulted in a highly efficient inspection where longer tubes could be fully inspected without having to continuously retract the scope outside the tubing to change tips. Likewise, welds were much easier to locate and verified quickly with the scope’s dual view capability.
In sum, the customer concluded that the Yateks P+ Dual Camera Industrial Borescope increased both the efficiency and accuracy of their tube inspection process.


