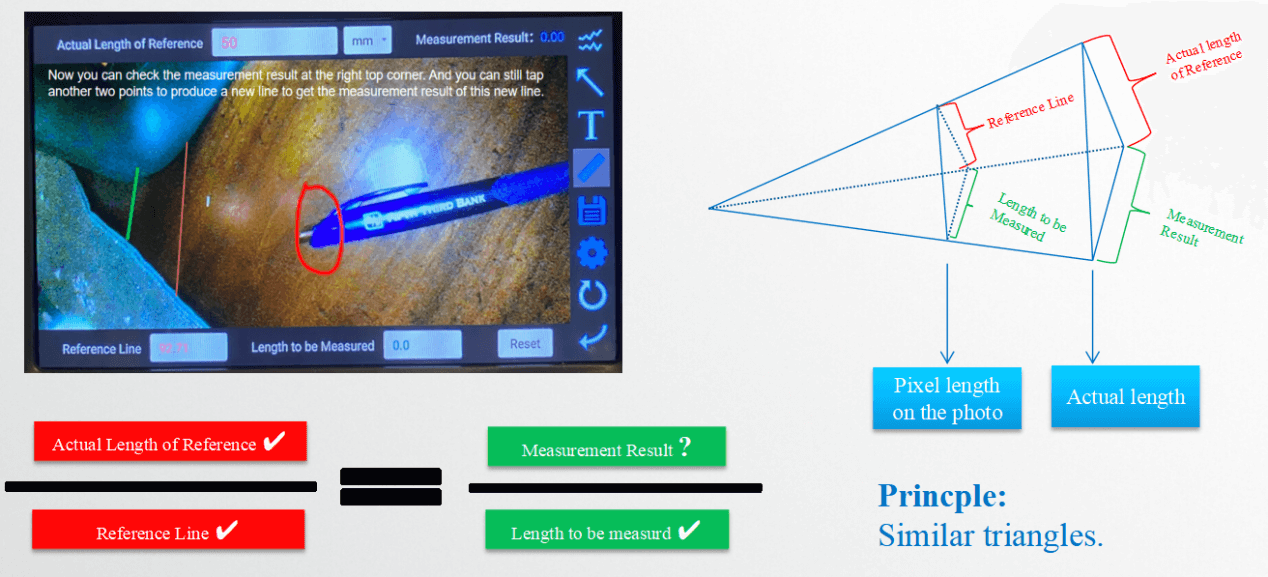
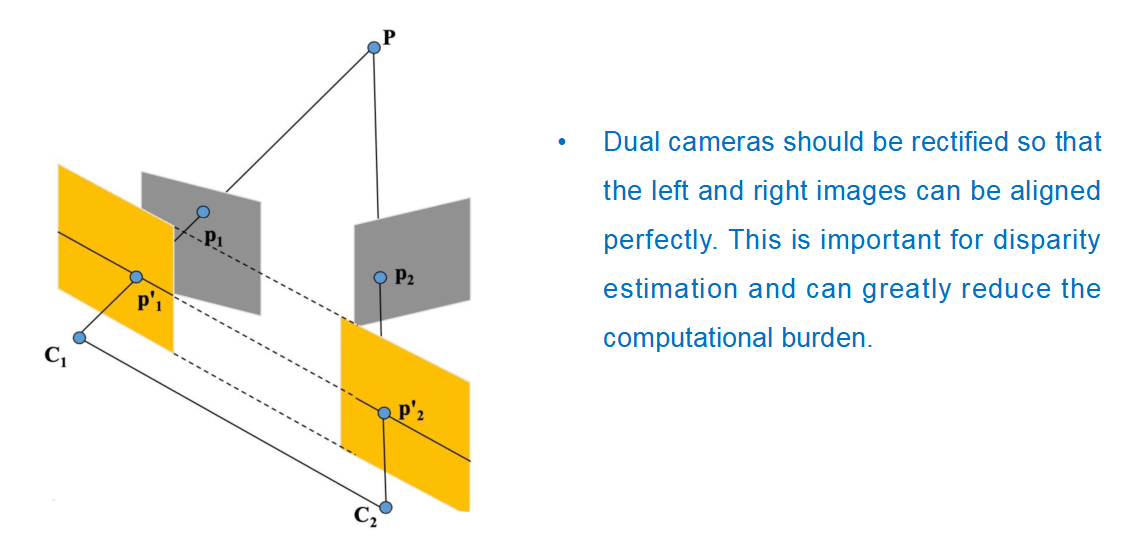
Traditional 2D endoscope can only provide qualitative measurement by using reference grid, which cannot meet the needs of high precision measurement, e.g. the actual depth of the object being measured, the aircraft blade defect inspection. You must know an accurate reference to get accurate results. The following diagram can help you better understand this principle.
Yateks Realta 3D measurement Endoscope is based on dual-view stereo, with entire 3D modeling pipeline optimization, much better performance than conventional dual-view stereo technique. It uses enhanced the 3D measurement module by adding advanced algorithms which can produce smoother results with less noise and invalid measurements.
So what are the practical advantages of Yateks Realta 3D measurement Endoscope?
1.Quick Capture and Measurement
Handheld device requires no fixing or waiting, enabling effortless and efficient inspection tasks.
2.Fast Point Cloud Generation
Advanced processing technology delivers point cloud results in as little as 5 seconds.
3.Ultra-Close Measurement
Supports ultra-close measurements as near as 4mm (depending on DoF of the camera), catering to precise inspection needs.
4.Real-Time Center Depth Measurement
Stable and accurate real-time depth measurement.
5.Large Measurement Coverage
Covers up to 80% of the view area, maximizing the measurable region and boosting efficiency.
6.High-Quality Point Clouds
Produces dense point cloud data with more than 700,000 points, supporting export functionality for further analysis.
7.Realistic Mesh Reconstruction
Supports texture-mapped mesh reconstruction to generate highly detailed and realistic 3D models.
8.Exceptional Measurement Accuracy
Achieves a measurement precision of 0.05mm, delivering dependable data for mechanical inspections.
9.Support Re-measurements
Measurement data can be saved for future reference, enabling re-measurements and ensuring convenient review and comparative analysis.
To get the best measurement results, here are some tips for you
- Ensure that your measurement probe optics are clean.
- Switch to enhanced 3D measurement mode.
- Increase the brightness of the light so that the image quality is good (in terms of noise level).
- Adjust viewing orientation and focus mode to minimize glare in the area of interest prior to capturing measurement images.
- Make sure the region of interest (ROI) is within the effective measurement area.
- For best data quality, keep the probe as still as possible during image capture.
- Lines or part edges should be oriented perpendicular rather than parallel to the baseline direction to help the system more precisely identify matching point positions.
- Position the tip as close as possible to the measurement area as long as the image is in focus. Measuring from too far away is the common cause of inaccurate measurements.
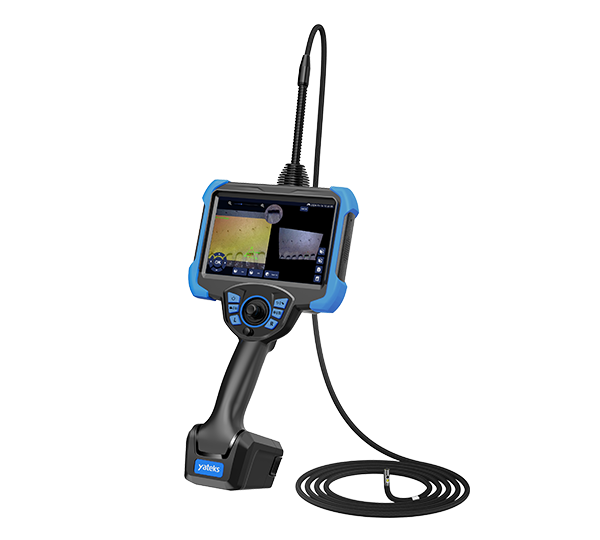
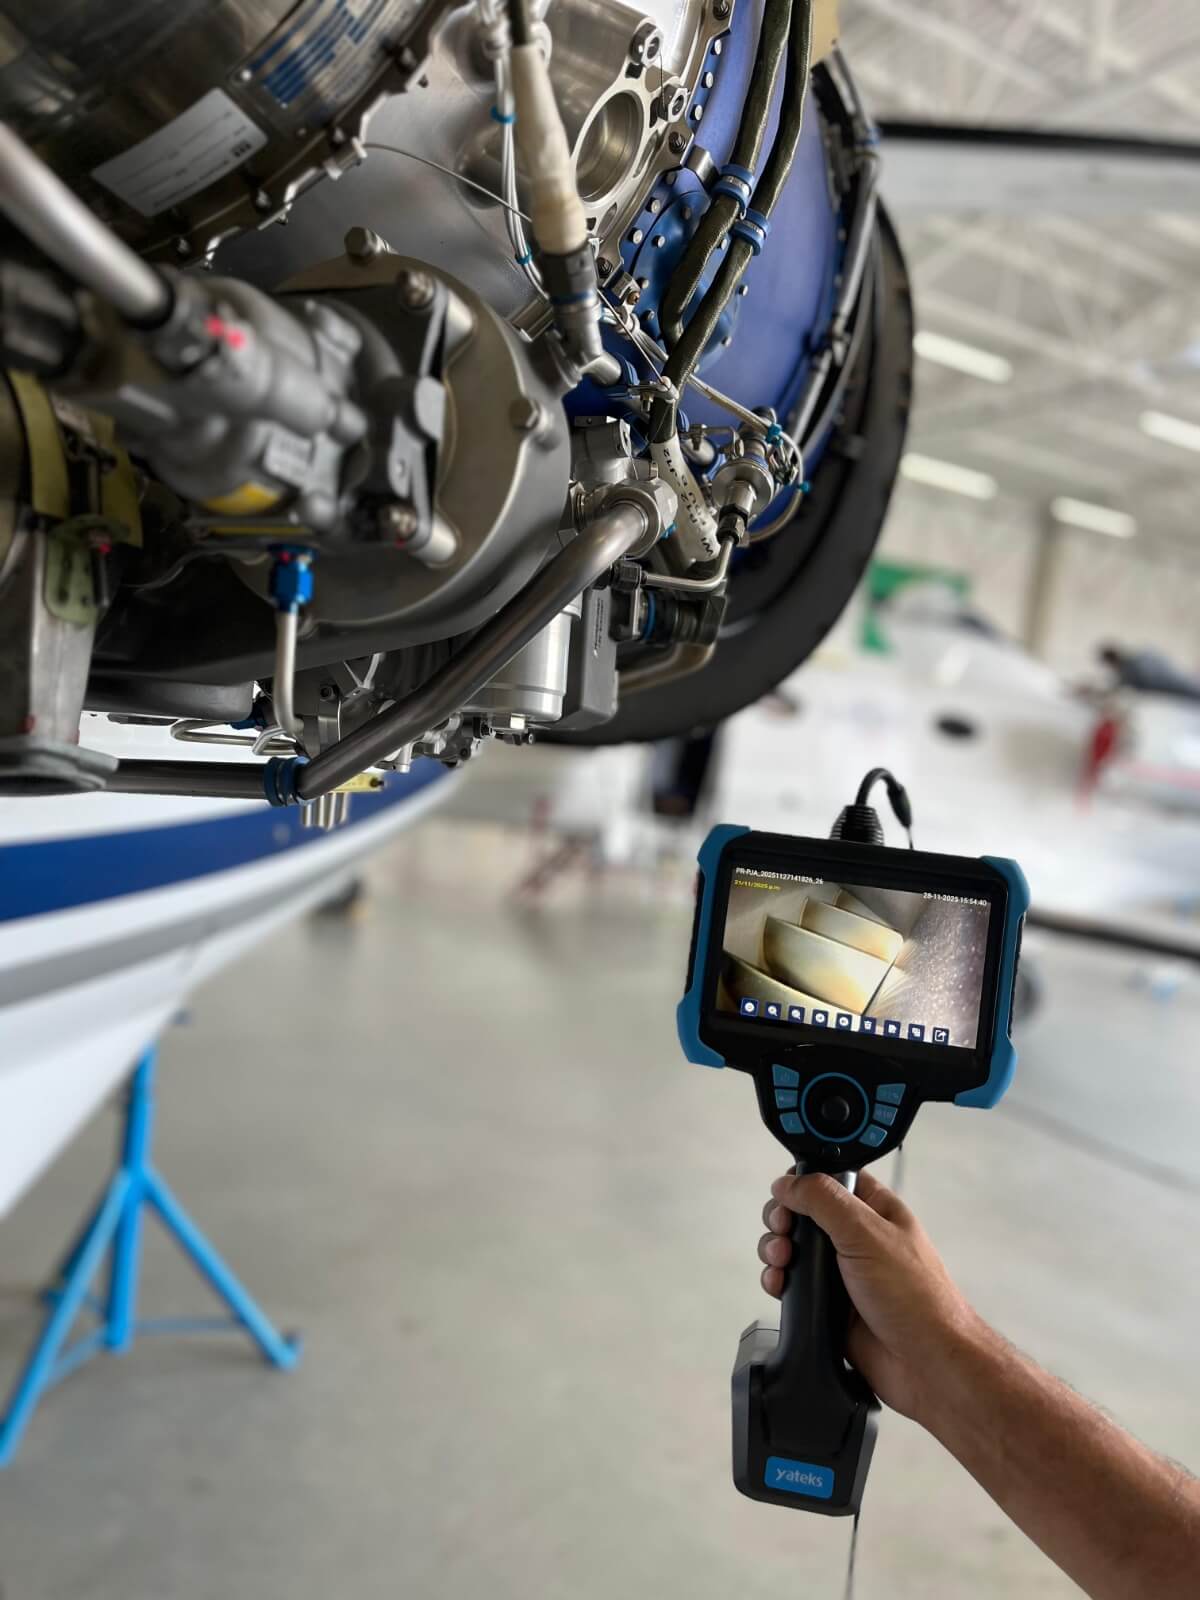
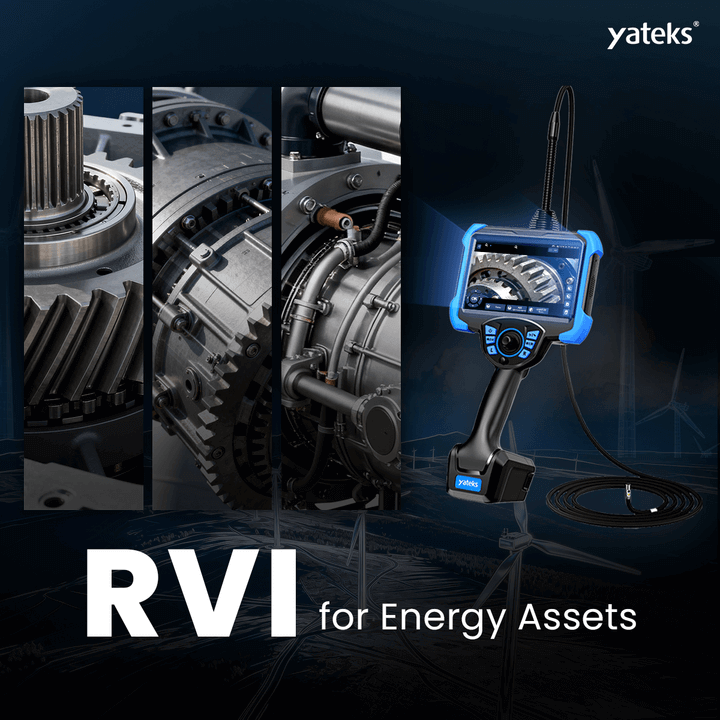
Yateks Realta 3D measurement Endoscope can be widely used in the production and maintenance of modern core industries such as aviation, automobiles, ships, electrical, chemical, and electric power. It has the characteristics of direct visualization and can directly observe whether there are defects or abnormalities on the inner surface of large devices such as pipelines, turbines, cylinders, and engines. It can take real-time photos and record videos, providing indispensable data collection for analyzing the use status of equipment and ensuring equipment production.

