Author: Nancy Dong
Date: 2019/5/15
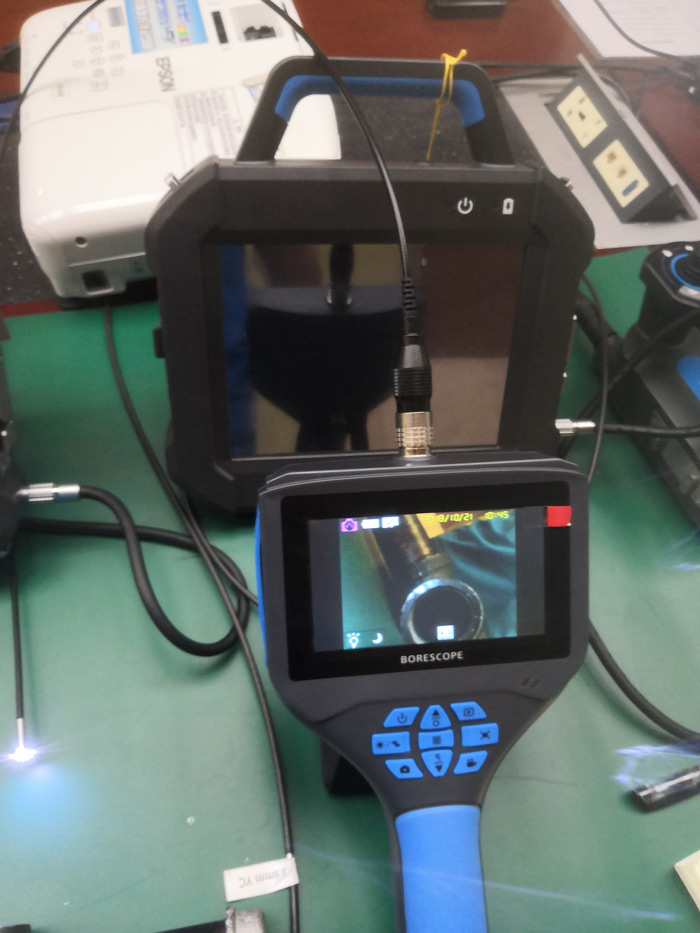
Industrial Borescope visual inspection is a non-destructive testing (NDT) method that realizes long-distance observation and detection by using an industrial endoscope that is difficult for human eyes to observe. borescope inspection equipment can detect the internal structure and internal surface features (morphology) of various materials (metal or non-metal) parts and assemblies; borescope inspection can be used in high temperature, toxic, and space-constrained environments without disassembling or damaging the structure. By arbitrarily changing the direction of the line of sight, observe the real condition of the inner surface of the object, and monitor, record, store and analyze the target image.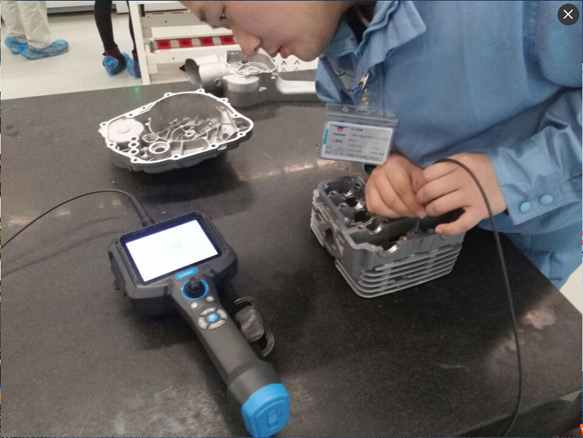
yateks-n-series-endoscope-used-in-motorcycle-engine-oil-pipeline-inspection
At present, there is no uniform evaluation standard for the types and characteristics of surface defects found in industrial endoscope visual inspection, and there is no judgment basis or acceptance criteria, resulting in the inconsistent interpretation of images, and easy occurrence of misjudgment or misjudgment of image features. Bring serious quality hazards and safety hazards!
Yateks has organized 10 rules to help our customers select the right model of Borescopes inspection equipment
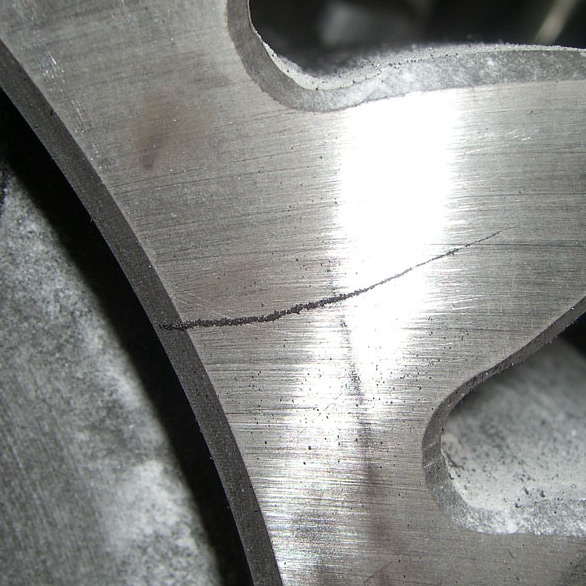
1. Crack.
When the light beam illuminates the surface of the object, a black or bright line could be observed, and the line has an irregular edge at a certain magnification, it could be judged as Cracks, and the measurement line of the measurable probe will bend if the Crack is wider.
2. Peeling.
When the beams of light are parallel, a shadow behind the convex part could be observed, when the beam angle was changed, a sharp boundary line between the convex portion of the surface and the surrounding objects was observed, it could be judged as peeling.
3. Pit and bulges.
When the beam illuminated at an angle, connected with the edge of the surrounding objects without boundary. The area near the light source has a shadow, and there is a bright shadow far from the light source, it is a pit. The bulge has a bright shadow and the back shadow is a pit. When the pit is deep or the bulge is higher, the measuring line of the probe will bend.
4. Spots.
When the light beam illuminated on the surface, a smooth uneven surface which was different in color from the surrounding object was observed as a spot.
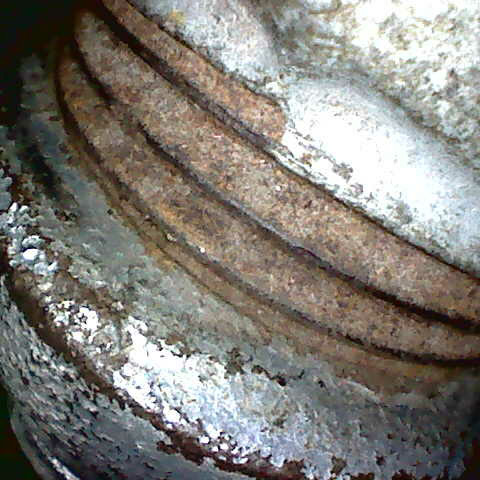
5. Corrosion.
Under the illumination of the light beam, a blocky or point-like surface was observed, and the slight unevenness was corroded at a certain magnification.
6. Defective welding.
A clear dividing line between the molten metal and the base metal and the weld layer could be observed clearly.
7.Lack of weld.
When the beam illuminated at an angle, a bulge which connected to the molten metal without the boundary line is lack of weld.
8.Redundancy.
When the beam illuminated at an arbitrary angle, an object other than the structure having a difference on color and brightness of the surrounding basic object.
9. Assembly defects.
Borescope inspection structural phenomena which unmatch with technical specification were observed during the inspection.
10. Dimension measurement.
The measuring probe can be used to measure the shape and dimension if required.
The majority of Borescope inspection workers can use the method of comparing the example photos with the typical photos to make the internal structure, internal surface morphology, defects and faults of the test object have a unified judgment basis, reduce ambiguity and misunderstanding, and use intuitive, authentic, reliable and reproducible. Borescope inspection is convenient and convenient comparison method to ensure the reliability of industrial endoscope visual inspection.
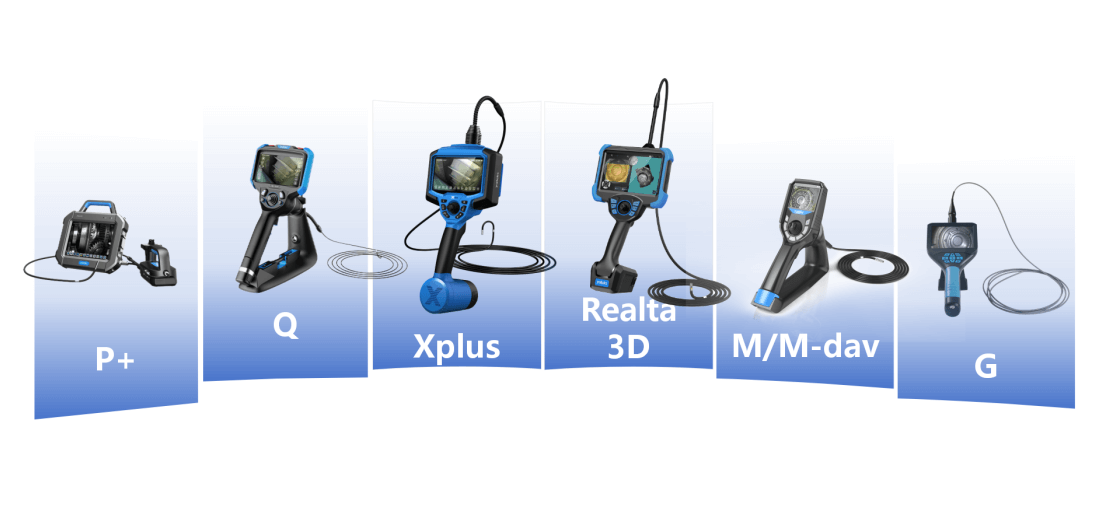
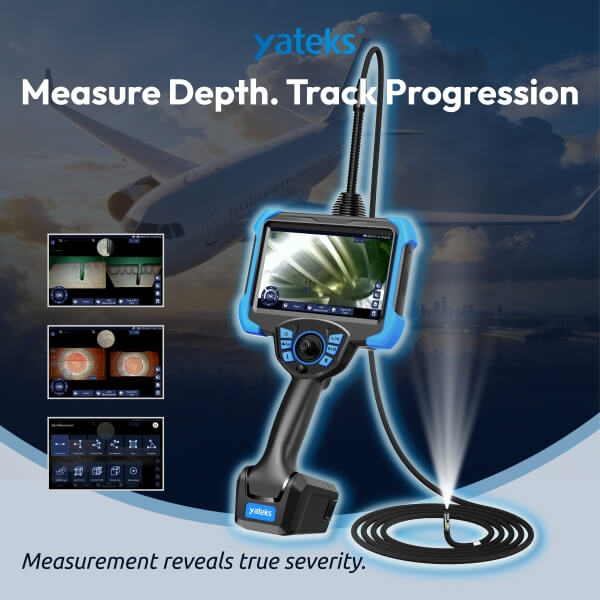
Yateks has 4 different series of Borescopes which could meet all you above requirements.
Recommend M-UV series Ultraviolet Borescope

