Aircraft engines are complex machines that require regular inspection and maintenance to ensure they are functioning properly. One of the most effective ways to inspect an aircraft engine is by using a borescope. In this article, we will discuss how to borescope an aircraft engine using an industrial borescope.
1.What is a borescope?
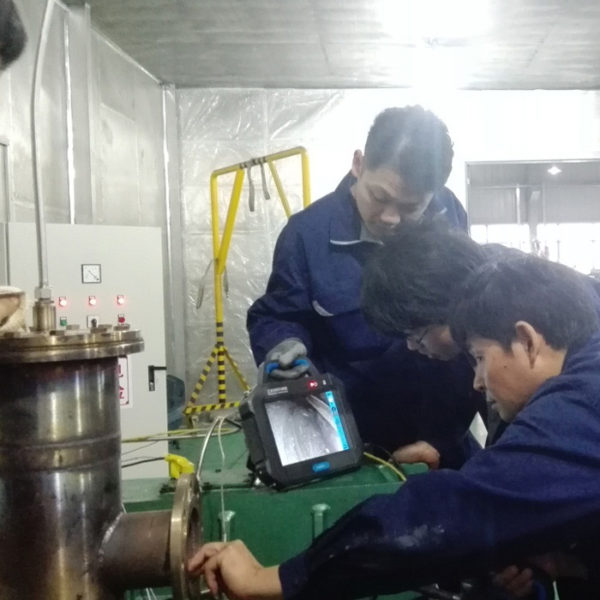
First, let’s understand what a borescope is. A borescope is a tool that allows you to see inside hard-to-reach areas such as the inside of an aircraft engine. It consists of a long, flexible tube with a high-resolution camera at one end and a light source at the other end. The camera sends live video feed to a monitor, allowing the user to see inside the engine in real-time.
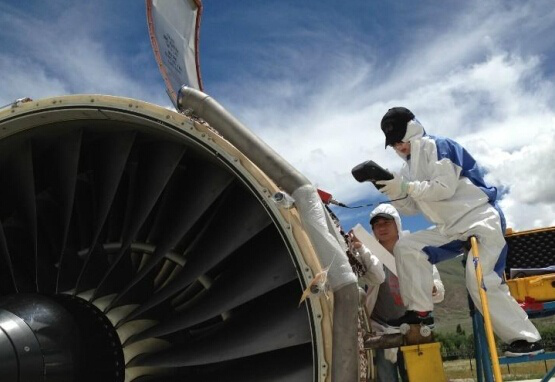
When it comes to inspecting an aircraft engine, a borescope can be an invaluable tool. It allows technicians to visually inspect the interior of the engine, checking for any signs of damage, corrosion, or foreign object debris (FOD) that could affect its performance.
2. What are the steps to use an industrial borescope to inspect an aircraft engine?
Step 1: Preparation
Before you begin, it’s essential to ensure that the aircraft engine is turned off and has cooled down. This will prevent any potential safety hazards and allow for a more thorough inspection. Additionally, you should gather all the necessary equipment, including the industrial borescope, protective gear, and any other tools you may need.
Step 2: Accessing the Engine
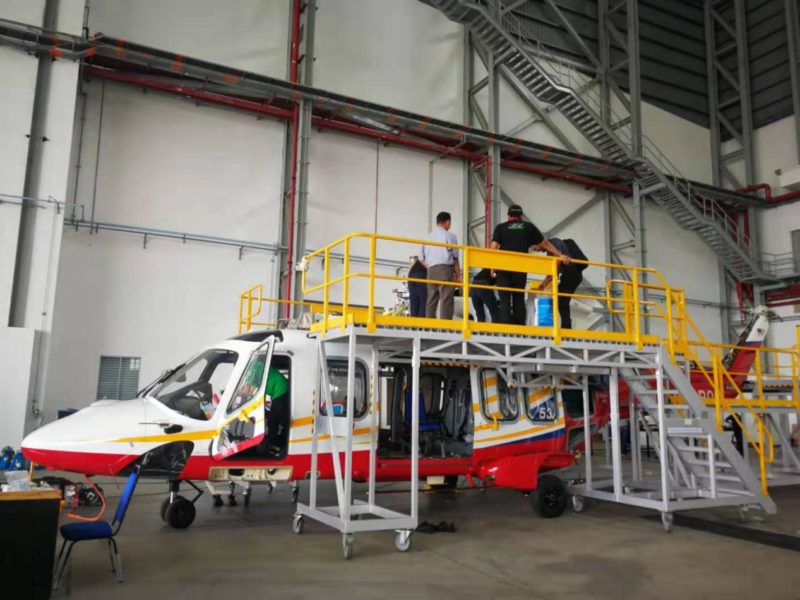
Next, you need to gain access to the inside of the aircraft engine. This may involve removing access panels or covers to expose the areas you want to inspect. Care should be taken to follow all safety protocols and guidelines during this process.
Step 3: Set up the Borescope
Once you have access to the engine, it’s time to set up the industrial borescope. Connect the camera to the monitor and ensure that the light source is functioning properly. Depending on the design of the engine, you may need to use different types of borescopes, such as articulating borescopes, to navigate through the intricate components.
Step 4: Inspecting the Engine
With the borescope in place, you can now begin the inspection. Slowly and carefully maneuver the borescope through the various components of the engine, paying close attention to critical areas such as the combustion chamber, turbine blades, and exhaust ducts. Keep an eye out for any signs of wear, damage, or foreign objects that could affect the engine’s performance.
Step 5: Documenting the Inspection
As you conduct the inspection, it’s important to document your findings. Take clear and detailed photographs or video footage of any areas of concern. This documentation will be valuable for future reference and can also help in making informed maintenance decisions.
Step 6: Maintenance and Repairs
Based on the findings of the borescope inspection, you may need to perform maintenance or repairs on the aircraft engine. This may involve removing and replacing damaged components or conducting thorough cleaning to remove any debris or contaminants.
Step 7: Follow-Up Inspections
After any necessary maintenance or repairs have been completed, it’s important to conduct follow-up inspections using the borescope. This will help ensure that the engine is in optimal condition and that any issues have been adequately addressed.
In conclusion, borescoping an aircraft engine using an industrial borescope is a crucial part of aircraft maintenance and inspection. By following the steps outlined in this article, technicians can effectively and efficiently inspect the inside of an aircraft engine, identify potential issues, and take the necessary steps to maintain its optimal performance and safety.


